Guest
 By Rich Pearce
Posted: December 9, 2020
Before we get started, I guess I better introduce myself, giving you the background on why I’m writing this piece telling you how to photograph a car!
My name is Rich Pearce, & I’m an automotive photographer based in Dorset. I’ve been shooting cars professionally for about 5 years and in that short time, have been lucky enough to visit some amazing locations around the world.
I work freelance for many different magazine titles and clients, shooting feature pieces with the result being to always make the cars stand out. You can look at some of my work here - www.richpearce.co.uk and follow me on Instagram - @richpearcephoto.
Car Photography: A Pro’s Guide To Capturing The Best Shot
I’ll begin with the assumption that you may very well be using your phone to capture your shot, which is absolutely fine. As technology is getting better, you can get some really decent results with your phone when used properly and in conjunction with additional apps.
I’ve started here to avoid those of you without a “proper” camera, from losing interest, thinking this post isn’t for you and wandering off elsewhere …
I’ll take you through some of my main tips for improving your car photography, and whilst some tips may be relevant to a “proper” camera, most of these tips will be achievable with that handy bit of mobile tech that’s always with you … after all, the best camera, is the one you have with you! We’ll keep things simple - master these and you’ll be ahead of most.
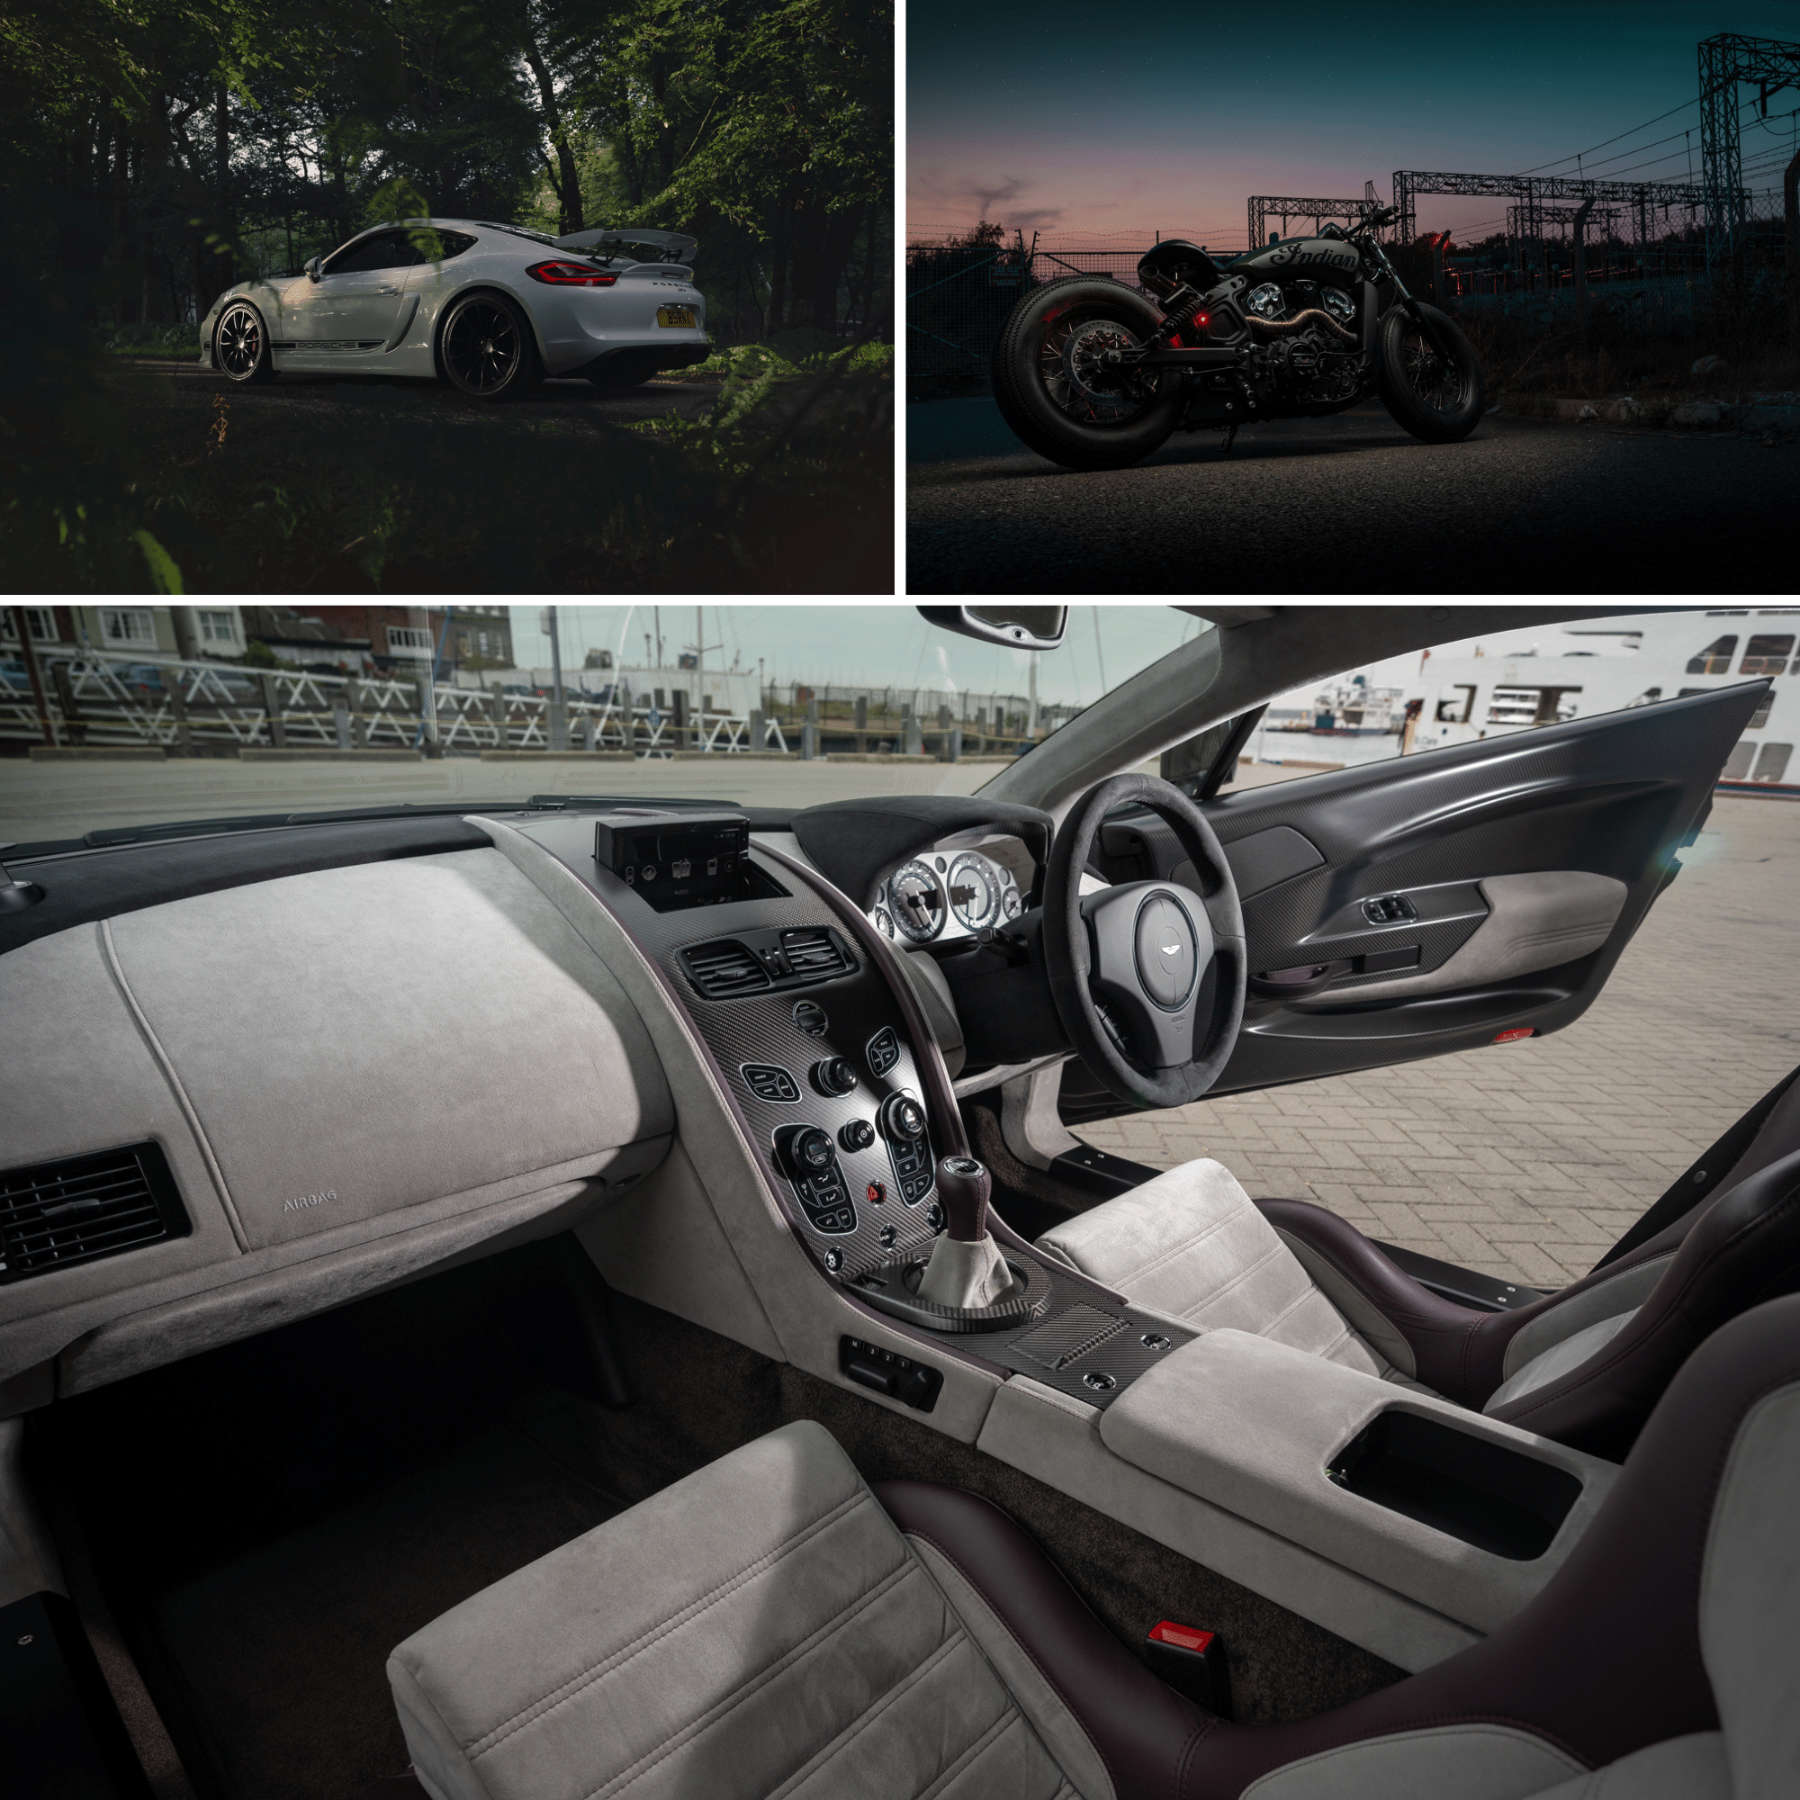
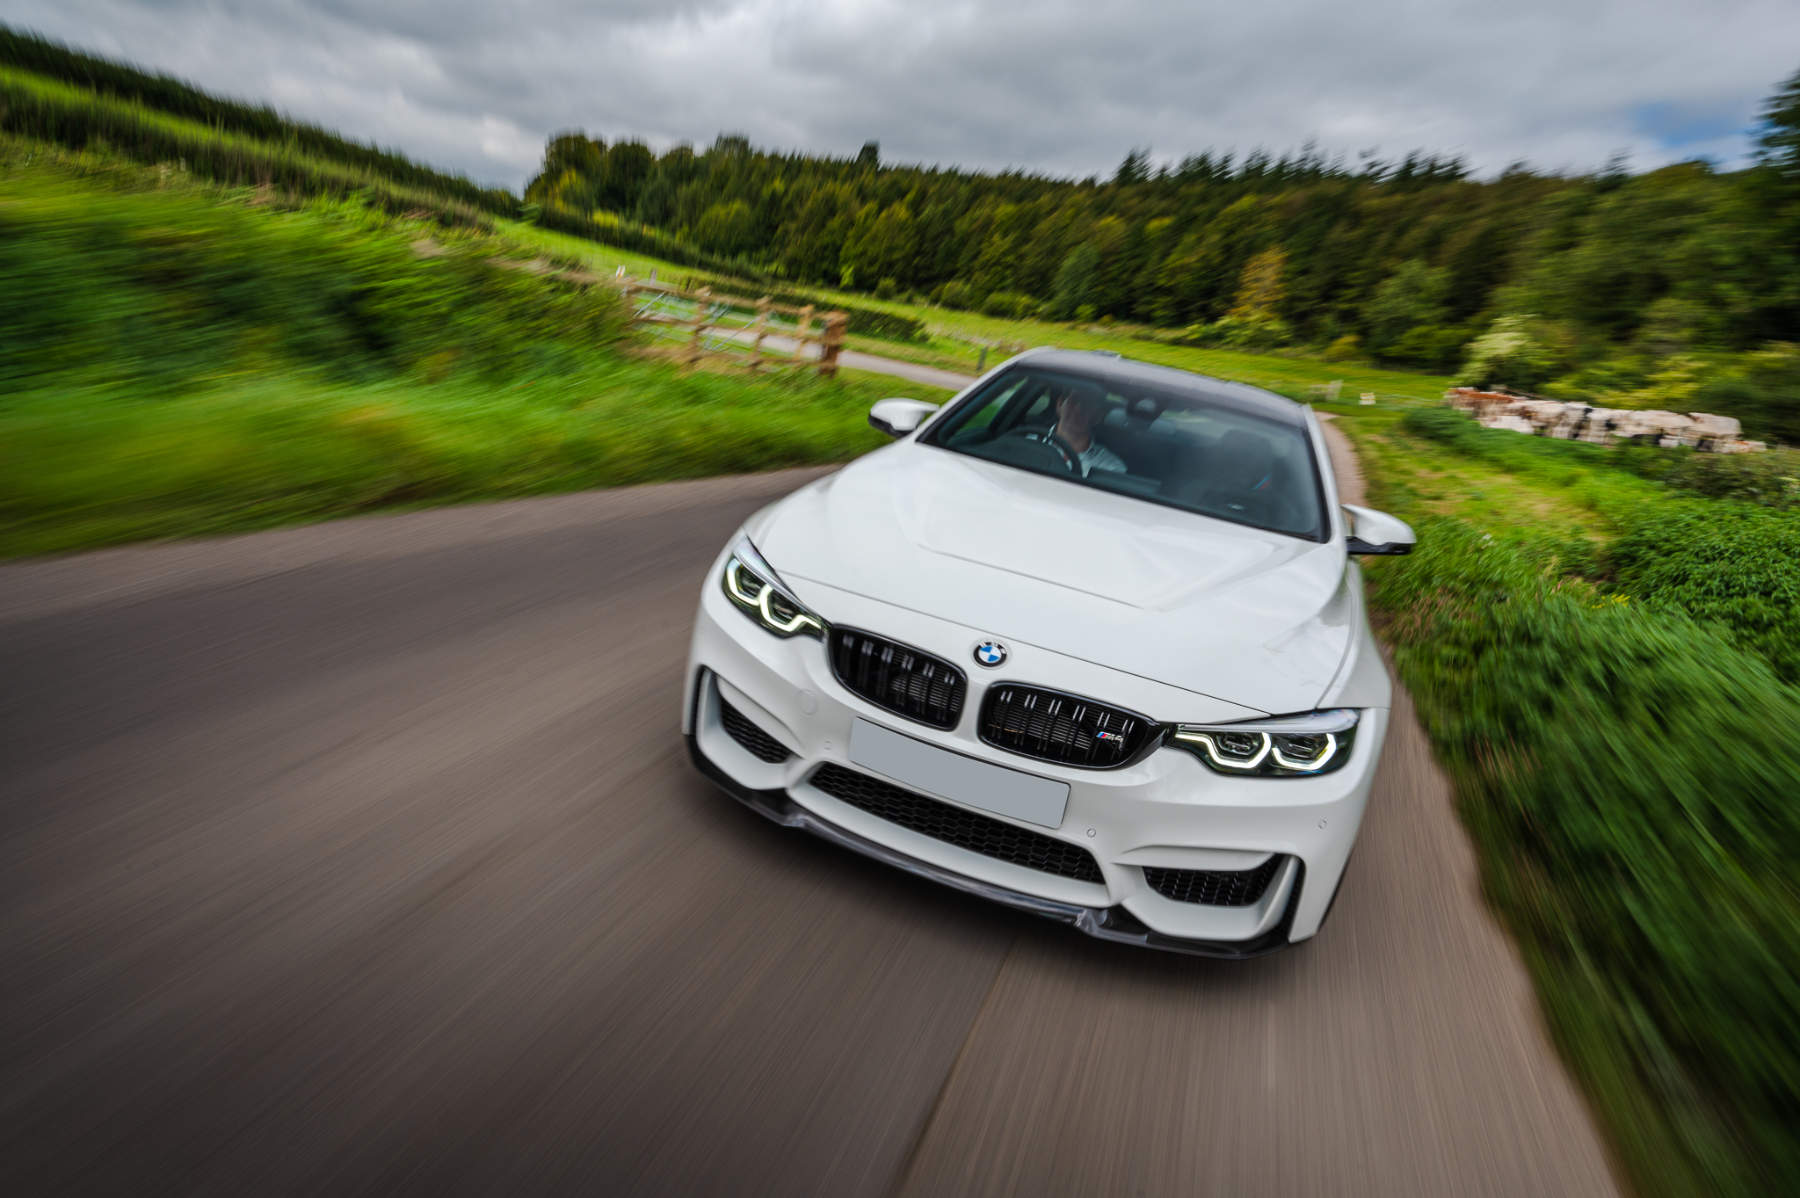
The relationship between the car and where you choose to hold the camera has a massive impact on the end result. Going into composition would require an entire blog post itself, so I’ll start with some basic points to be thinking about. My favourite angle to shoot a car at is the 3/4 angle and, most commonly the front 3/4.
From here, you get a pleasing view of the side and front or the car, in nice proportions. It's best to stay near to the 45 degree angle from the car, as when you end up with just a small amount of the side or front in the shot, it can just look awkward.
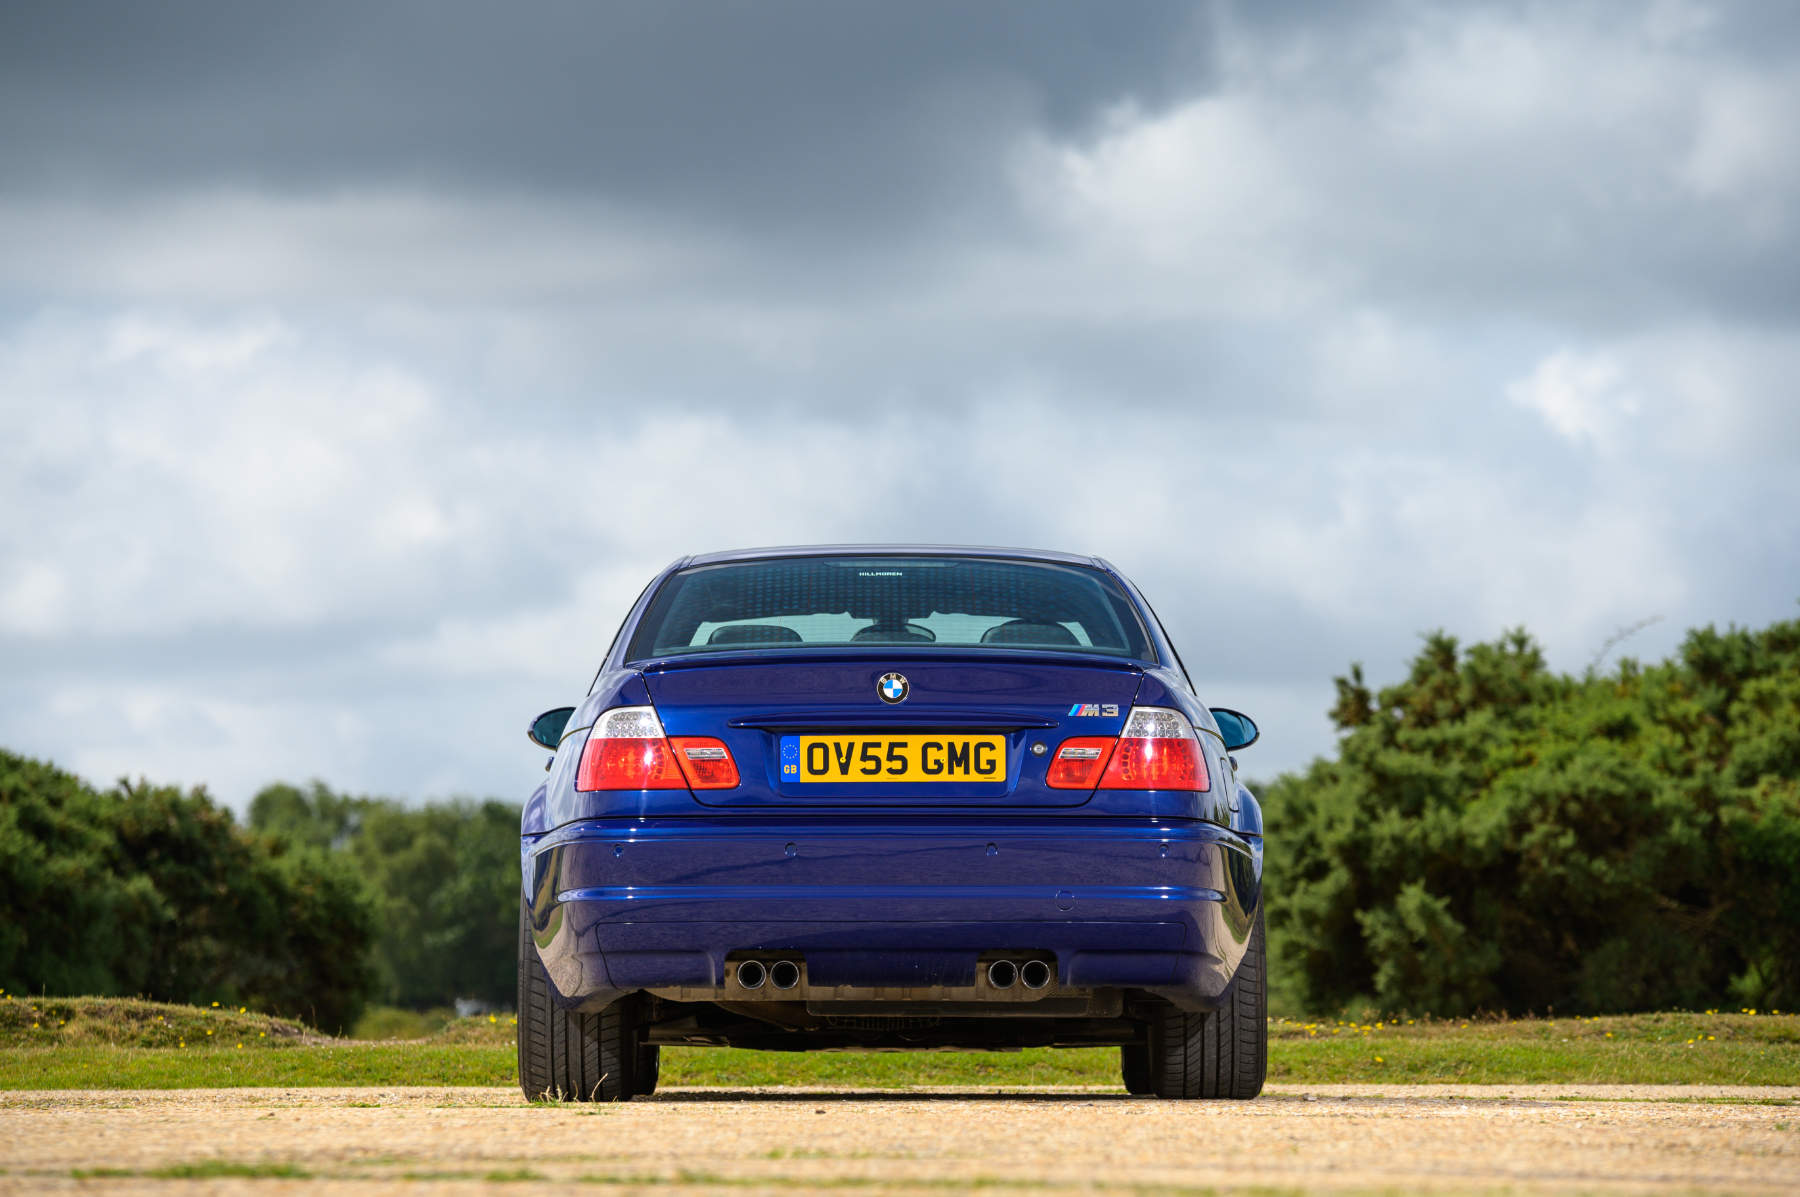
When shooting the car from dead side-on and front or back, always try and keep the angle centralised, with both edges of the car in the shot matching.
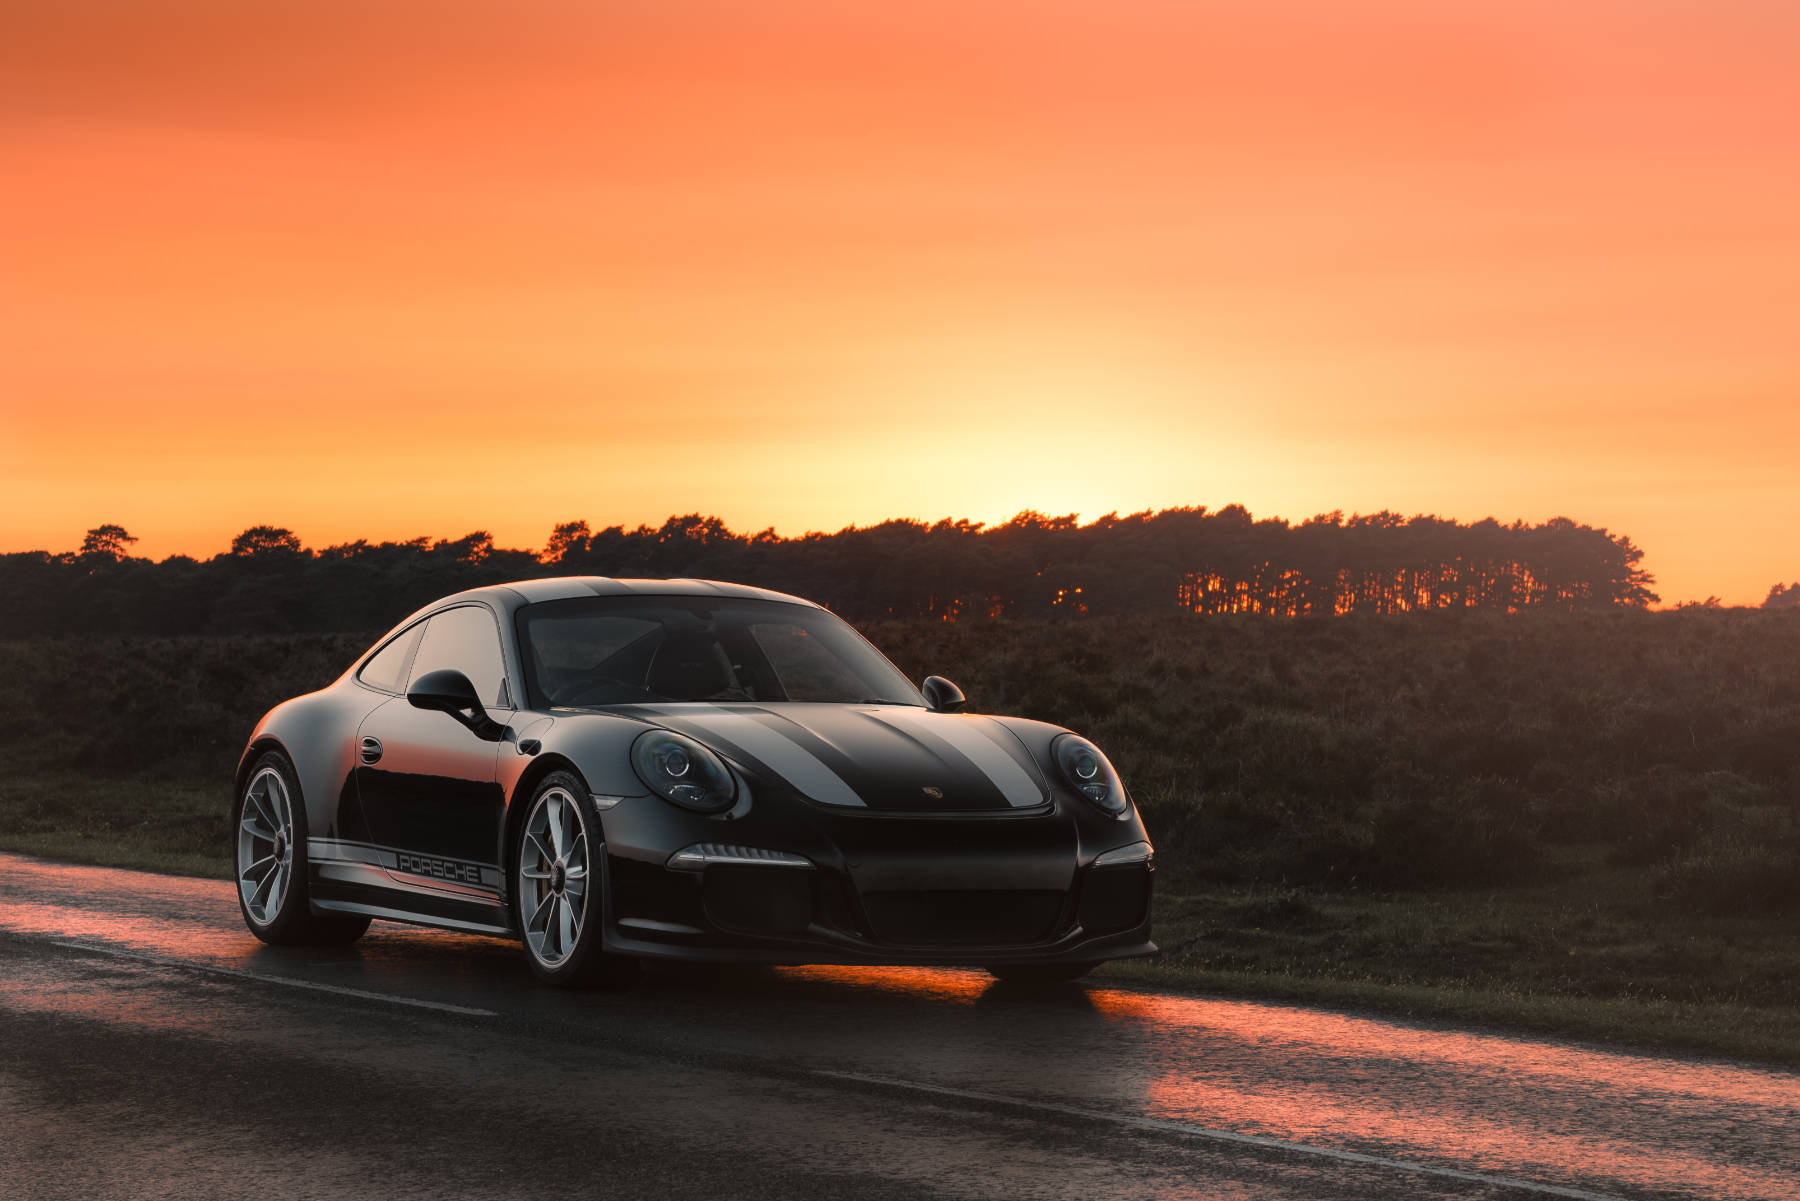
The choice of lens in automotive photography is crucial, in particular, I’m referring to the focal length. Our eyes naturally see the equivalent to a 50mm lens, this is why that choice of focal length can give you some of the most natural looking results. Any wider and you risk distorting the shape of the car.
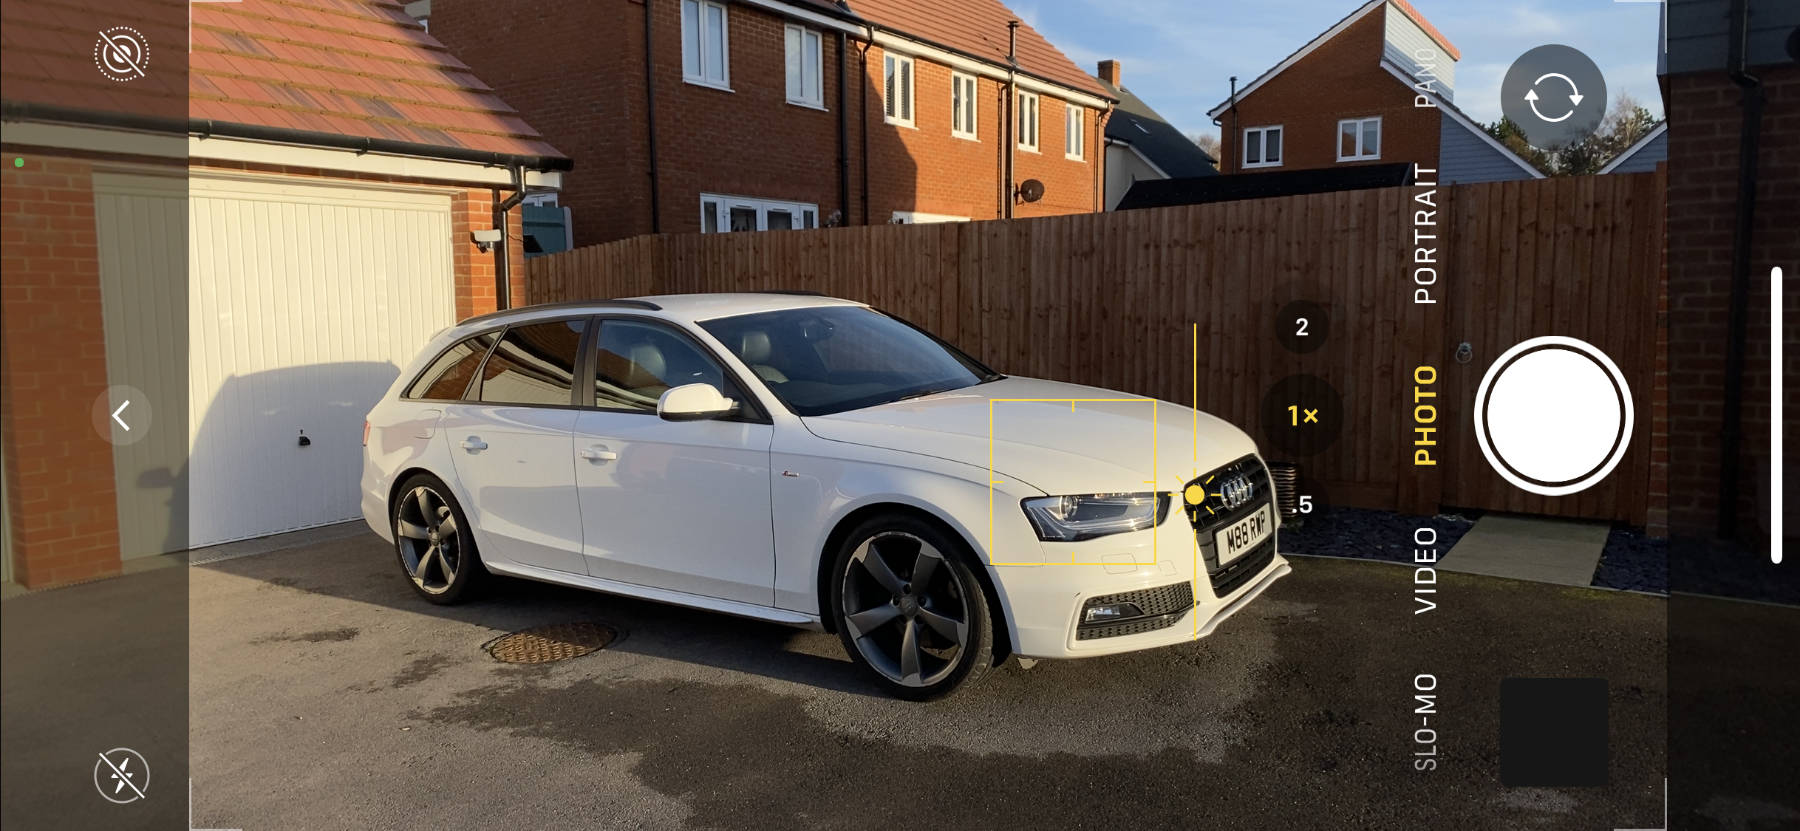
On the latest iPhone with the 3x cameras, you’ve got a choice of 0.5x, 1x and 2x zoom. A good general rule of thumb would be to use the 1x or 2x zoom options. If it seems the car is too close in the shot, then walk back! You’ll get a better result, rather than simply switching to a wider lens.
When driving a car on the limit, the more you understand how a car works, the better equipped you are to control the outcome. The same goes for using a camera, even in ‘Auto’.
When you point your camera at a chosen scene, it has the task of looking at everything in view and controlling the brightness. It does this by evaluating all the light and dark areas, before finding the middle ground to expose as much detail in the subjects.
Here’s an example. Park a bright white car in a staged scene, the camera will mistake this for an over-exposed area, pulling down the brightness of the whole shot. The result - a dull looking car and under exposed background. To correct this, if you’re using a camera, use ‘Exposure compensation’, or if you’re shooting on an iPhone, tap the screen so a box appears with a sun next to it, then hold and drag the sun upwards to correct the exposure again. The opposite happens for a black or dark colour car. The camera will think the shot is under exposed and look to brighten the image too much.
Now this might be where it gets a bit harder to control things with a phone, but we can’t avoid discussing shutter speeds.
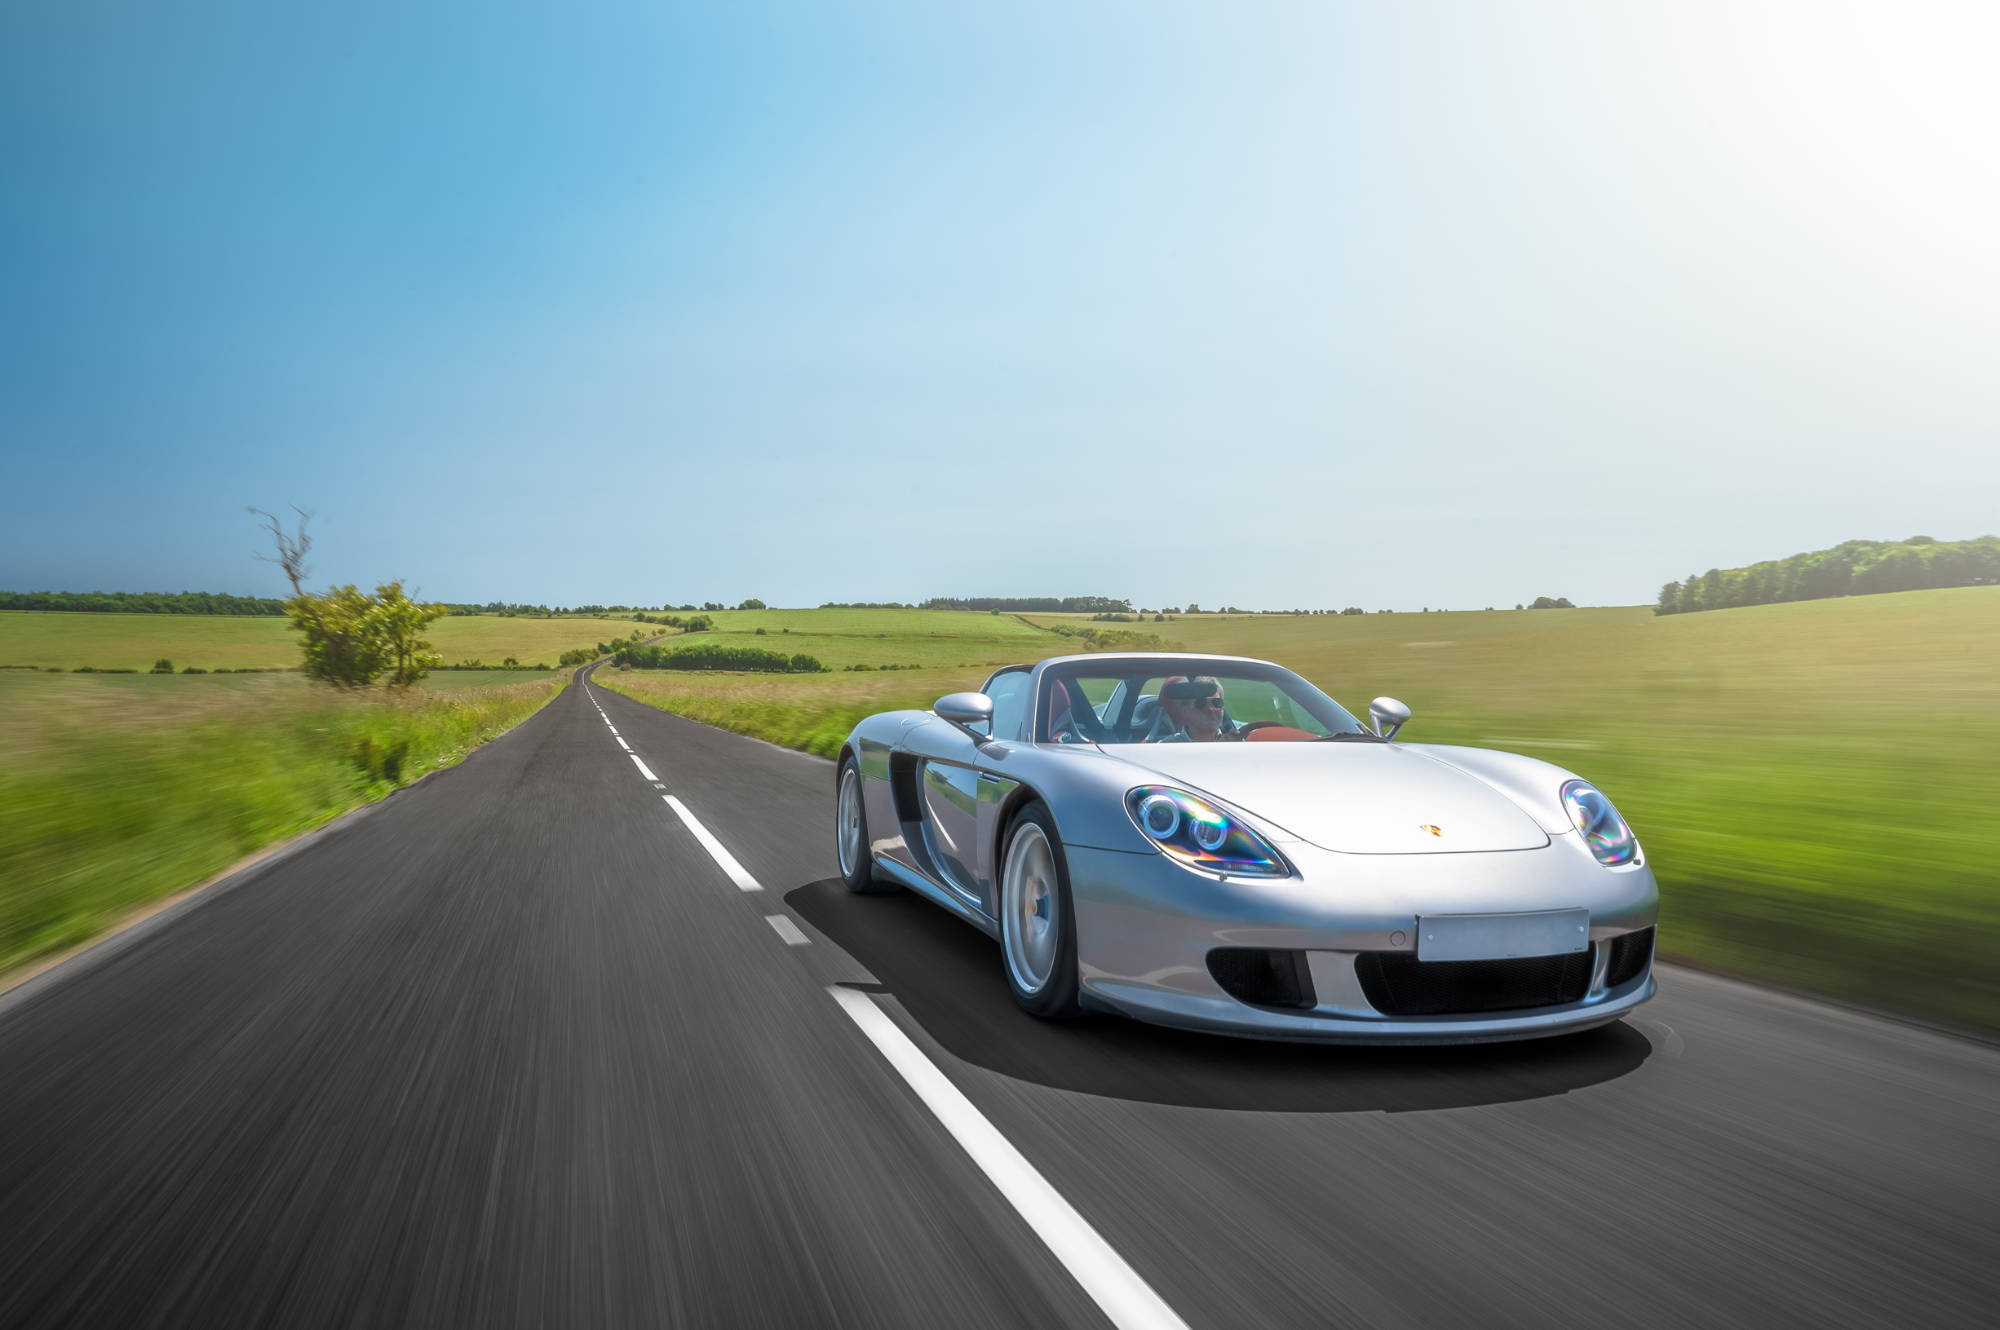
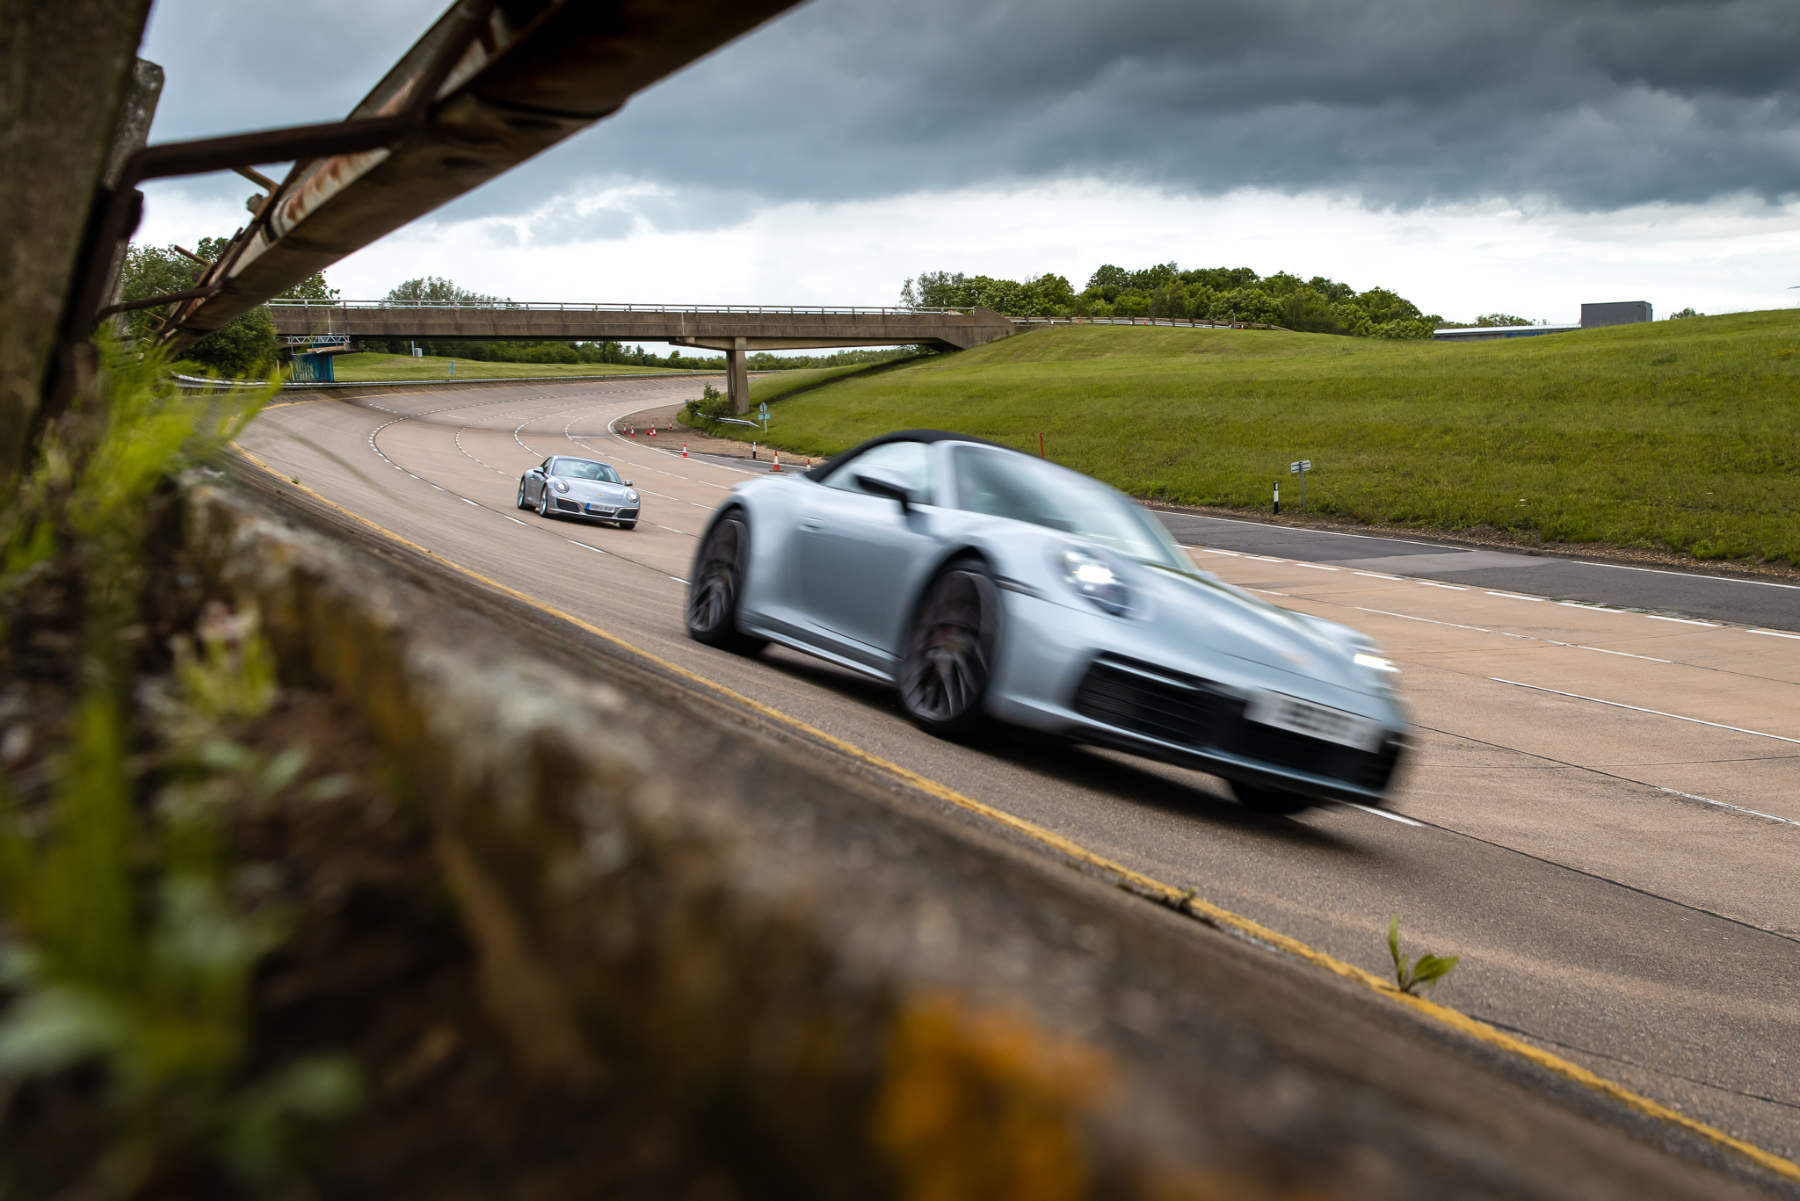
One of the wonderful things about cars is, they move! And if you want to give the sense of movement in a static photo, you’ll need to take control of the speed at which your camera takes the shot.
The secret to getting these images with the background all blurring through the scene, is a slower than average shutter speed. A good rule of thumb is to use one that matches the speed at which you’re travelling. So, say you’re doing 20mph, a shutter speed of 1/20th of a second or slower will give good results. As this is a pretty long time to be able to hold the camera still, especially when strapped in the back of a speeding car, you’ll need to take a LOT of shots to get a few sharp ones.
Don’t forget you can also use the slow shutter speed to portray speed by keeping the background static and have the car blurred as it passes by. Different results by essentially doing the same thing.
I guess this is a subject that comes down to taste, so all I can do here is offer my suggestion of where to start. There’s no right or wrong, but there are some simple tweaks you can make to enhance an image, making it stand out compared to an untouched version. Nowadays all phones offer some editing tools and if you’re using a camera, chances are you’ll have some editing software on the computer.
Basics first, if you didn’t manage to get the exposure correct to start with, then you’re normally able to save things with a quick adjustment on the exposure slider, or by using the highlights or shadows sliders.
With the exposure correct, it's time to get things more punchy. A simple way of doing this is subtle tweaks to the whites and blacks. By darkening the blacks a touch and brightening the whites, you’ll add some contrast into the image. But again, best to keep it subtle.
Now to the colours - my advice here is to use the vibrance slider, rather than the saturation. Using the vibrance instead tends to keep the image looking natural - rather than screaming out that it’s been edited to the edge of its life!
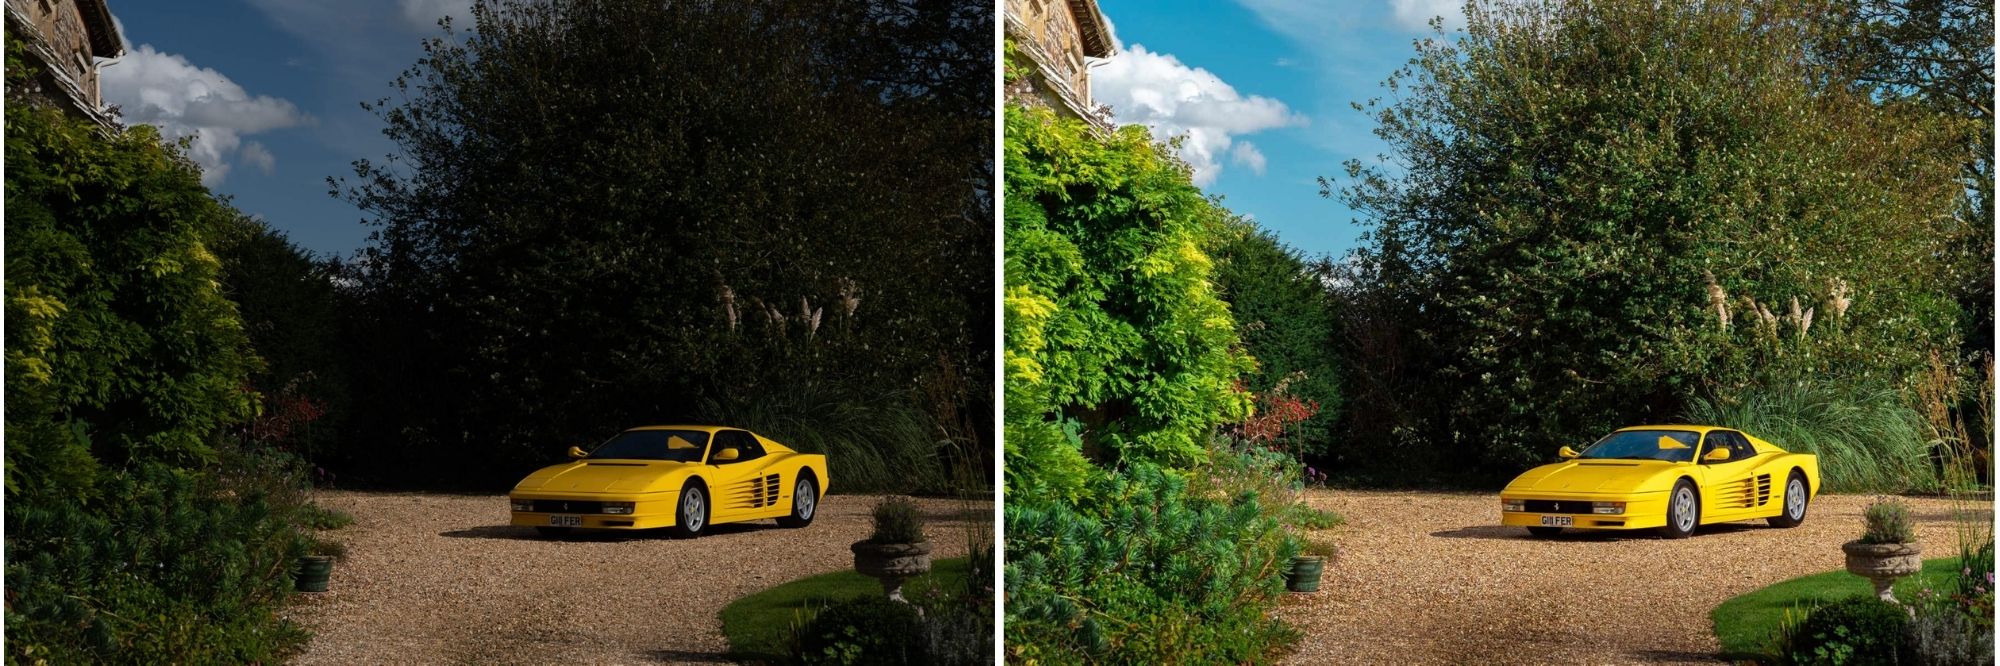
The below images of a Ferrari Testarossa show the difference that those tweaks can make.
I’ll end by sharing my honest best bit of advice: if you want to get better at taking photos, then take more of them!
You can read as many articles, books and watch all the videos online - these resources are great, but they will not teach you experience. And that really is what it mostly comes down to - taking enough photos, bad ones especially! It’s the only way you’ll start finding what works and build from there.
This really has only scratched the surface on photography subjects but has hopefully given you some helpful tips.
Thanks for reading, get out there and start shooting!
Rich Pearce
Call: 01234 757 633
Email: info@catdrivertraining.co.uk
Attend a course & feel your knowledge & technique has not developed, you've not been taught new skills, or not been treated with respect & professionalism, your money will be refunded. It’s as simple as that.
The CAT Team look forward to working with you.
Colin Hoad
CAT Driver Training is the fast way to develop & improve authentic dynamic driving skill, technique & knowledge from the Best. OEM recognised driver training for individuals & the motor industry. As the leading UK based independent advanced performance driving skills company, we exist to make your driving experience even better. Explore your cars potential, fulfill your own. Coaching advanced road & track skills, safety driver training courses for individual driving enthusiasts & advanced driving for all facets of the motor industry. The only training company resident within UTAC's Millbrook Proving Ground in Bedfordshire, within easy reach of London, & all surrounding counties: Hertfordshire; Buckinghamshire; Oxfordshire; Nottinghamshire; Cambridgeshire; Norfolk; Suffolk; Essex; & Surrey. Clients travel from the World over & the UK to learn from the authentic evidence based dynamic driving & vehicle dynamic experts. | All Rights Reserved | Copyright 2005 – 2026
Some of the links we use are affiliate links. This means that, at no cost to you, CAT will earn an affiliate commission if you click through the link and finalise a purchase.
Designed by WHP
Coded and built by Prominent Media
 By Colin
 By Suzy Wallace